「Sonic」 はICPの初DEXであり手数料が無料ということもあり
注目されているDEXになります
事前に 「Plug」ウォレットとトークンである「ICP」が必要になります
準備の仕方がわからない方は
ここで解説していますので良ければどうぞ
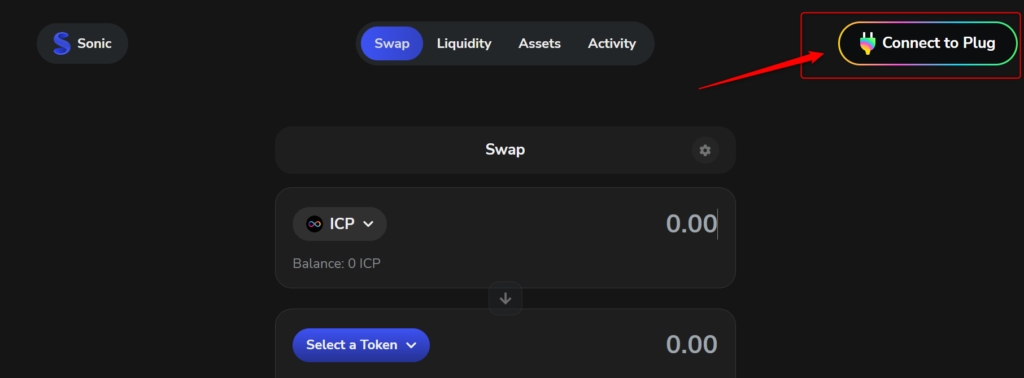
まずは「Sonic」にとびます
サイトについたら
ICPの専用ウォレットの「Plug」と接続します
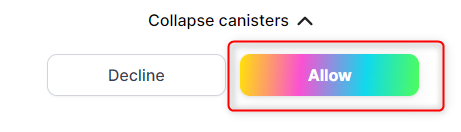
「Allow」で承認します
トークンを作る
それでは早速LPトークンを組んでいきましょう
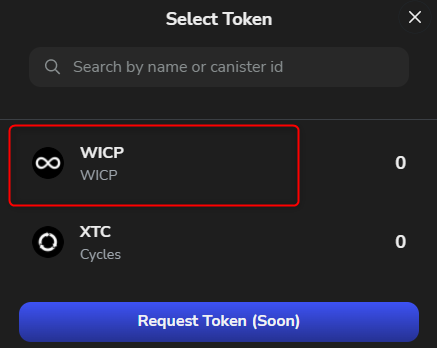
保有している「ICP」を「WICP」へスワップします
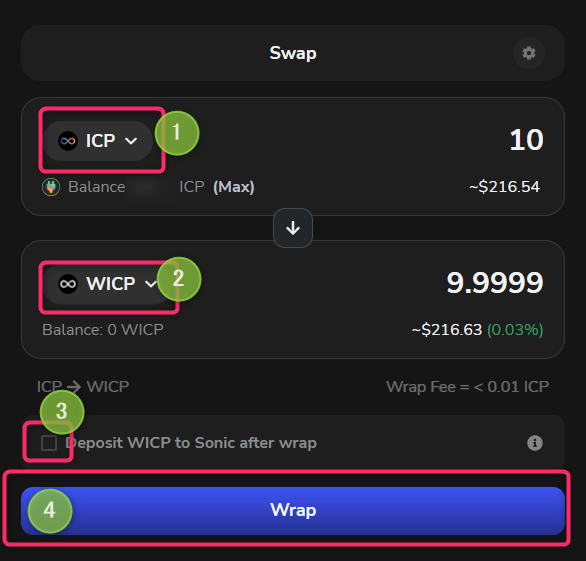
今回は10ICPでやってみます
WICPを選びます
「Wrap」を押して変換します
「Confrirm」を押します

下画面が出てくるので1分ほど待ちます
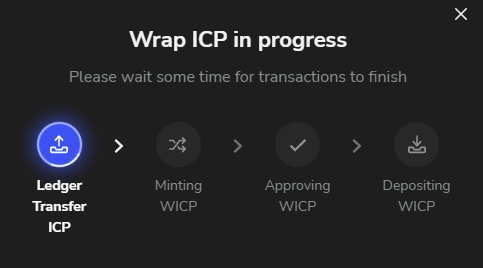

完了すると以下画面になります

続いて10WICPのうち半分を
「XTC」へ変換します
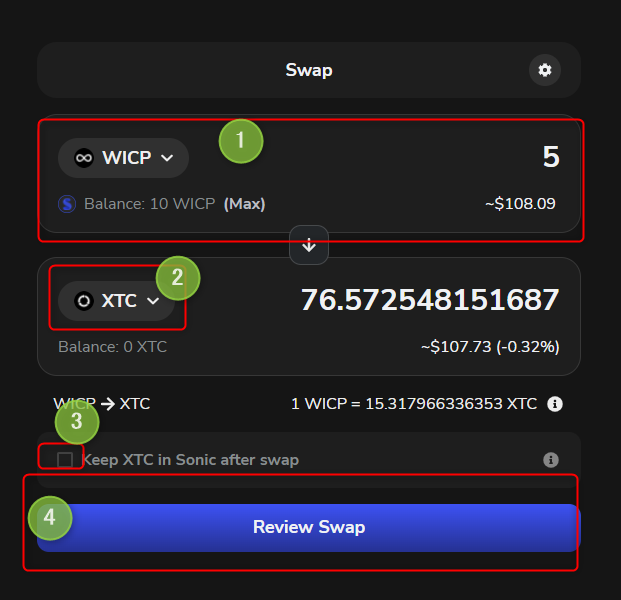
「Confrirm」を押します
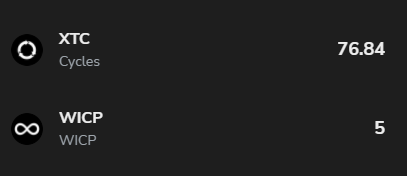
これで流動性を提供するためのトークンの準備が整いました
Liquidity (流動性を提供する)
Liquidity を押して 「Create Position」をクリックします
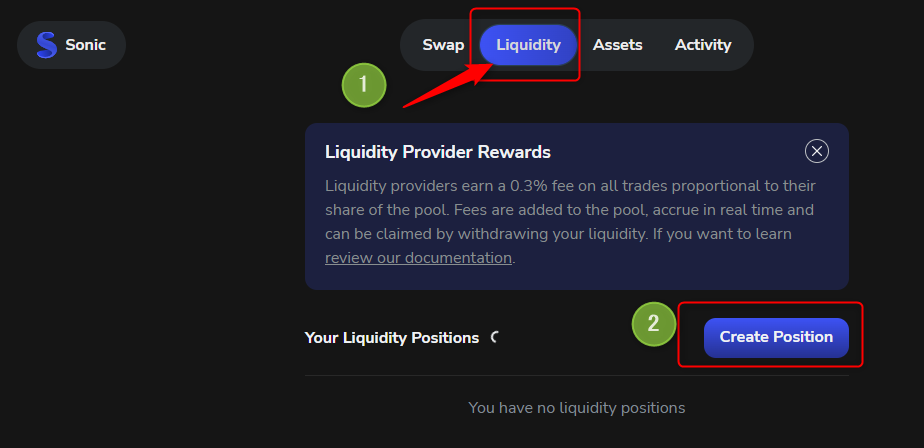
すると以下画面になります
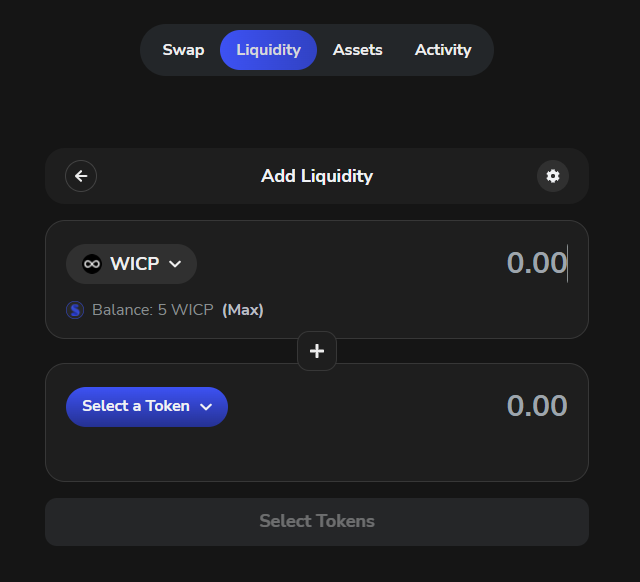
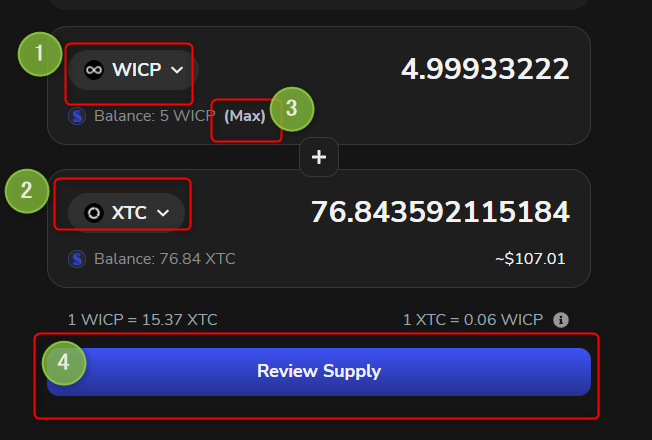
「WICP」 と 「XTC」を選んで
WIPCの横の「Max」を押して
「Review Supply」を押します
つづいて
「Confirm Supply」をクリック
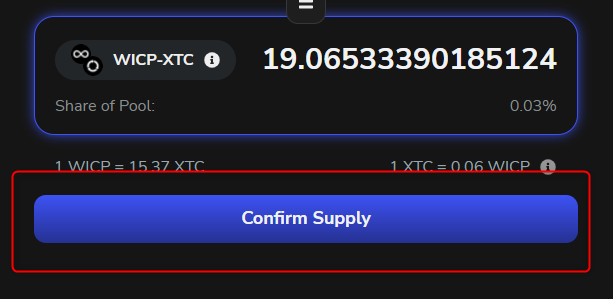
「Confrirm」を押します
この画面がでていれば完了です
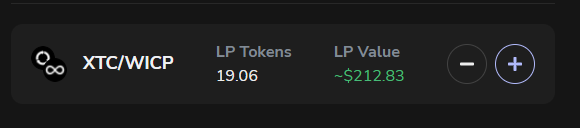
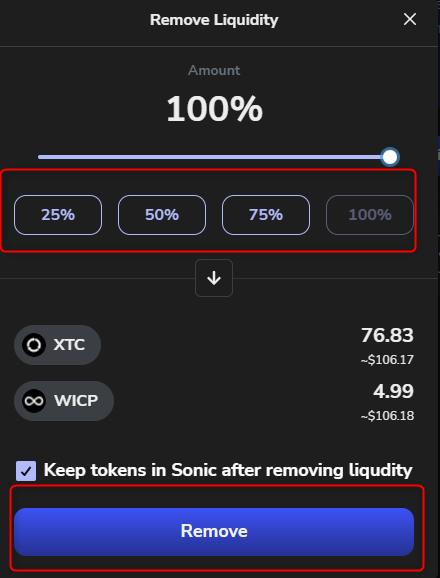
解除したい場合は上のマイナスボタンを押せば
以下画面から解体することができます

コメント